Off-road jacks are bulky, unstable and can sometimes be quite dangerous. However, they remain one of the most practical tools available. With an off-road jack, you can lift, pull out or even push a 4×4 vehicle that has become stuck in a deep rut (provided, of course, that you know how to use it).
As is well known, a loss of traction or insufficient ground clearance can leave a 4×4 vehicle unable to move forward; in such situations, an off-road jack can help resolve these issues. Imagine your vehicle is stuck in a treacherous mud pit, the underbody is scraping the ground, traction is lost, and the winch cable is already taut. Yet you know there’s surely a pesky boulder lodged beneath the chassis, and forcing it any further could damage the transfer box. What should you do in this situation? Quickly fetch your off-road jack and use it to lift the 4×4 out of the mud. This allows the vehicle to overcome the suction effect of the mud, enabling you to raise the 4×4 high enough to place hard objects under the tyres. Once you’ve overcome the suction effect and your vehicle has sufficient ground clearance, you can begin to build a path. When placing these supports, remember to use sturdy materials such as rocks and logs; avoid using gravel or twigs. This is because heavier objects provide better stability and grip once the vehicle is lowered.
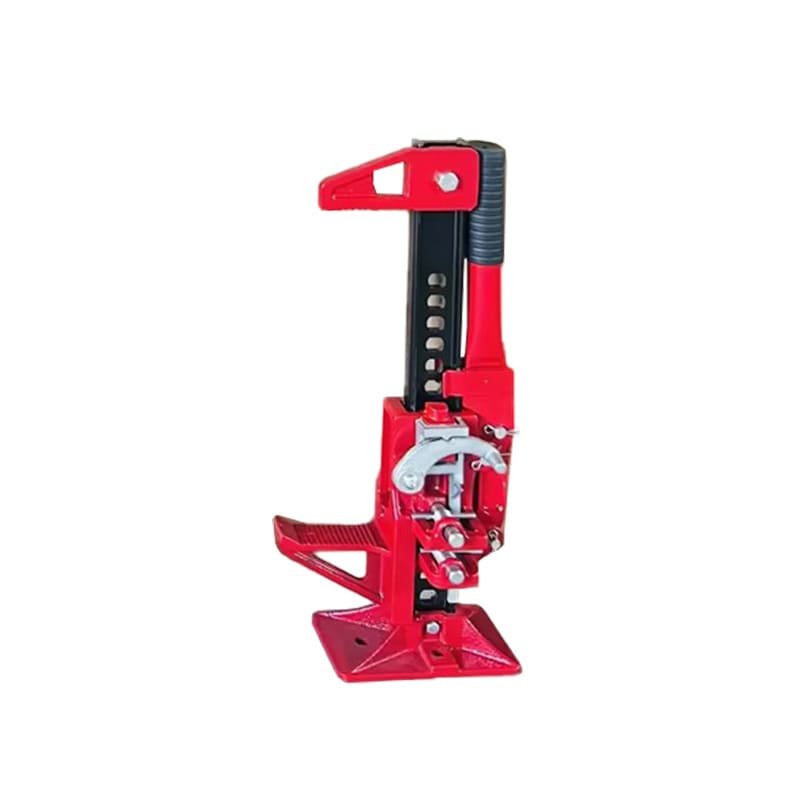
There are many brands of off-road jacks on the market, but most are based on the ‘High-lift’ design. They are made from a combination of cast and steel components, or cast components alone. Jacks made entirely from cast components are the most durable and are currently the most common type on the market.
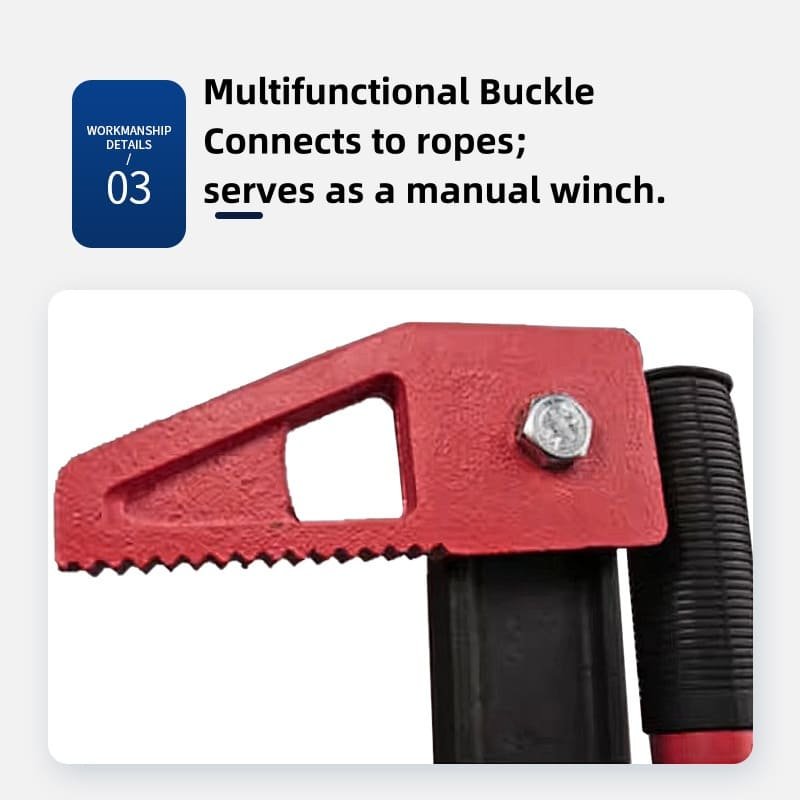
You can use a jack for a variety of tasks, including winching. Below, we’ll first cover the most common use—lifting your 4×4.
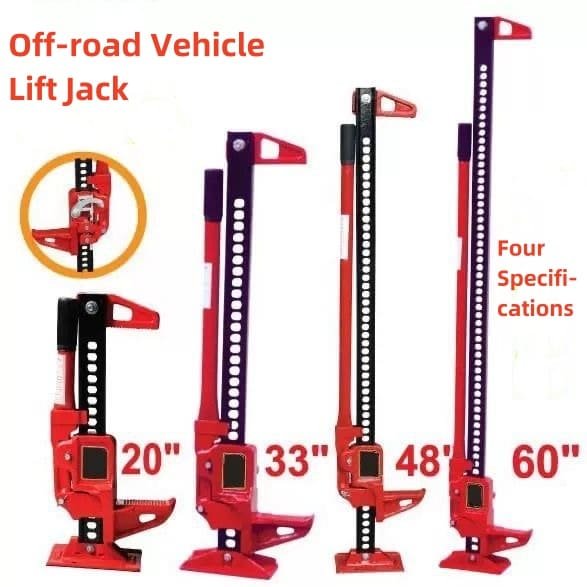
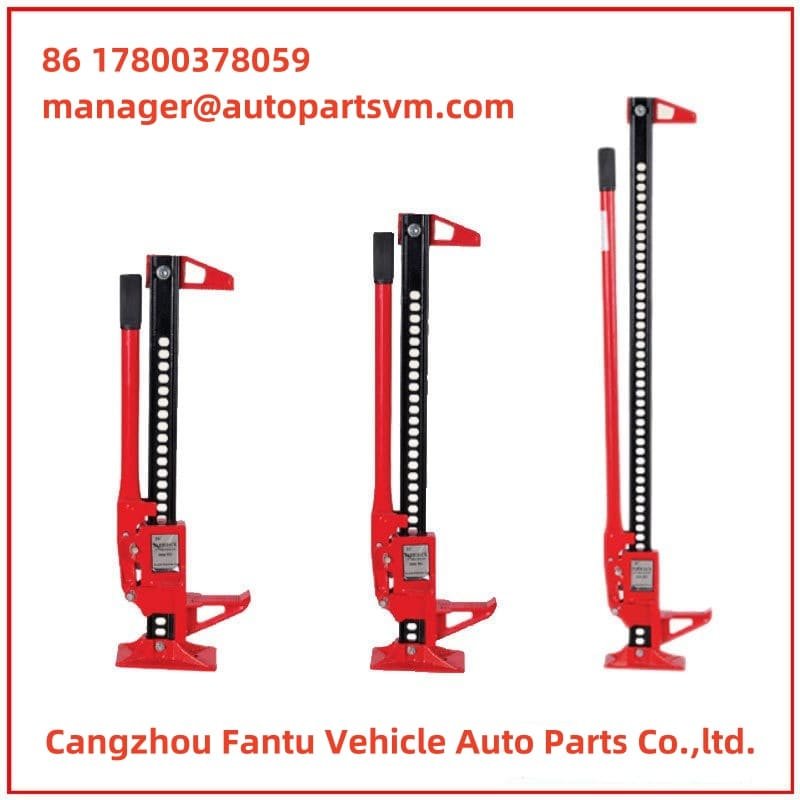
The most common off-road jack sizes are 48 inches and 60 inches. If your 4×4 is fitted with standard suspension, or has only been lifted by 2 inches, a 48-inch jack will suffice. If your 4×4 has significantly lifted suspension, you’d be best advised to purchase a 60-inch model.
Operating Instructions
Before use: First, inspect your off-road jack, checking that the pin is not damaged and that the locking holes on the support arm are not blocked. Before you start turning the handle, ensure that everyone around the vehicle is standing in a safe position.
Lifting:
1. Apply the handbrake to stop your 4×4; it is best to wedge logs or stones under the wheels to prevent the vehicle from sliding on the road surface.
2. When setting up the jack, keep the handle upright.
3. Place the jack on firm, level ground. If the ground is soft or sandy, you will need to provide a base of some sort, such as a concrete block or brick.
4. Set the directional lock to the ‘UP’ position.
5. Grasp the handle and lift it upwards until the jack nose is positioned directly against the support point. Take care not to use hollow tubes or other fragile points, or areas where contact is insufficient and the jack might slip.
6. Hold the handle with both hands and carefully rock it up and down; as you rock the handle downwards, the vehicle will be raised. Observe the vehicle at all times, watching for any slipping or other movement. If you notice instability, stop immediately. Furthermore, do not use extension bars on the handle, as the mechanism is not designed to withstand such loads.
7. Do not raise the 4×4 to an unnecessary height; the higher you lift it, the less stable the operation becomes. As a general rule, do not raise the tyres more than 5 cm off the ground.
8. Once you have raised the vehicle, remember to secure the handle in an upright position using the handle clamp.
9. If you wish to change a tyre, do not rely solely on the off-road jack. First ensure the tyre is wedged in place, then place stones or logs under the vehicle, before slowly lowering the vehicle onto these supports. Only then should you proceed with the tyre change.
Lowering:
1. When lowering your off-road jack, ensure there is at least 150 pounds of pressure on it; otherwise, it will slip off the support rod.
2. First, push the handle into the upright position.
3. Next, move the directional lock to the ‘DOWN’ position.
4. Begin pumping the handle up and down. Never lean your body or face over the handle; this prevents the handle from snapping back to the upright position and knocking out your front teeth in the event of an accidental movement or if it slips from your grasp.
Maintenance of Off-Road Jacks
Although off-road jacks are made entirely of metal, you still need to take good care of them. Clean them thoroughly after use to prevent the pin holes from becoming blocked, and apply a layer of all-purpose anti-rust lubricant, or lanolin; in fact, white lithium grease works very well too. If you are the meticulous type, you can also store it in a protective cover.
SAFETY PRECAUTIONS
1. Be sure base of jack is on firm and level ground
2. Be sure your jack will not slip after load is applied
3. Be sure lifting arm is fully under load is applied
4. Be sure the load is stabilized before lifting so that it will not shift when lifting or lowering
5. Do not work under vehicle after lifting unless you have jack stands supporting the vehicle.
6. Do not push load off the jack; Lower it carefully.
7. DO not use handle extensions.
8. Do not carry jack by handle
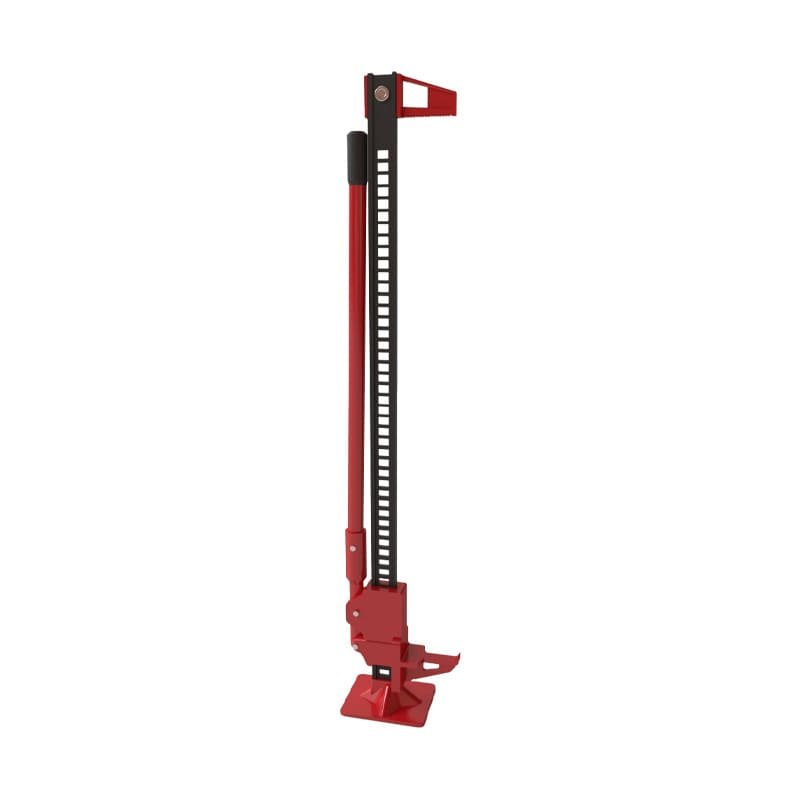
60 In. Farm Jack. Ideal for lifting, pulling, clamping and spreading on tractors and 4-wheel drive vehicles. Adjustable top clamp clevis can be moved to any position on the upright steel standard for clamping purposes. Lifting range is 4.9″ to 52.3″
60 In. Farm Jack. Ideal for lifting, pulling, clamping and spreading on tractors and 4-wheel drive vehicles.
Adjustable top clamp clevis can be moved to any position on the upright steel standard for clamping purposes.
Lifting range is 4.9″ to 52.3″
All Steel Construction, each jack is 951 factory tested for reliability and safety